
No selected text
Selected text. The bounding rectangle is now visible.
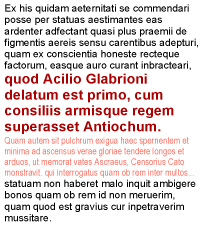
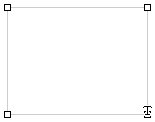
An extended text is made up a characters string on one or several lines. It is linked to no curve. Such a text is fit inside a bounding rectangle which can be handled like any other object. By default this rectangle is not visible.
|
|
|
|
|
No selected text |
|
Selected text. The bounding rectangle is now visible. |
Select the  icon in the edit tool box, the cursor has now the following aspect:
 ![]() .
.
Click a position on the screen (somewhere else than inside the bounding rectangle of an existing flat text). You see a flashing cursor on the screen:

Without releasing the mouse button, drag the mouse: the bounding rectangle is getting bigger:
Type the text using the keyboard:
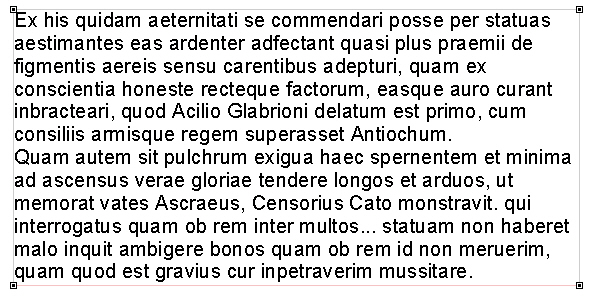
By default the frame fits to the size of the text in height. The width is not recalculated.
If you click on one of the four corners of the rectangle and drag the mouse, you can resize the frame.
If the frame is too small to display the whole content, the bottom line is displayed in red:
Press the [Enter] key to write a new line.
Press the [Backspace] key to delete the last written character (repeat this operation in order to remove the previous ones).
You also can use the "Undo" command [Ctrl]+[Z]. . Once you finished to write this text, click outside the frame or choose a new tool.
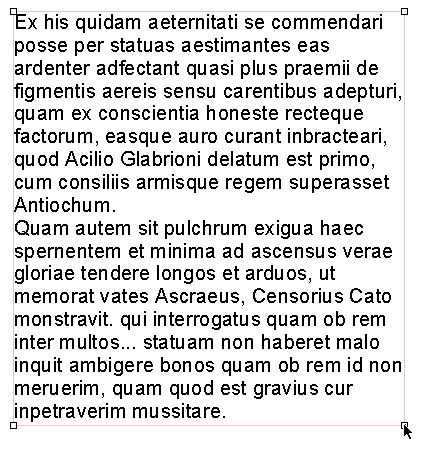
Inside an extended text you can use several text types:
Note: Frames from the text types are not taken into account for extended texts.
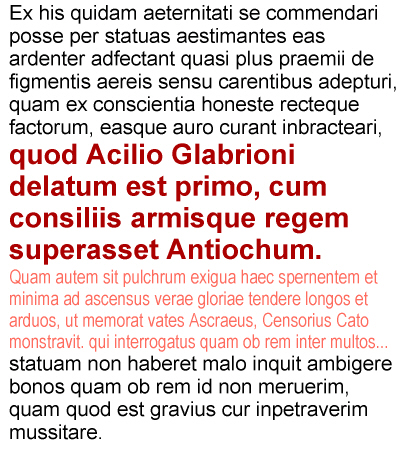
An extended text is placed inside its bounding rectangle according to alignment attributes (left, right, centered or justified). The default alignment is "Left": Left justified text:
|
|
|
|
|
|
Left justified text |
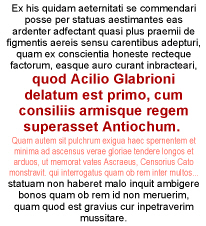
Centered justified text |
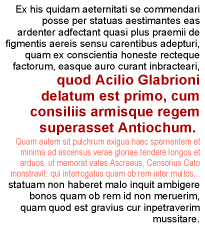
Right justified text |
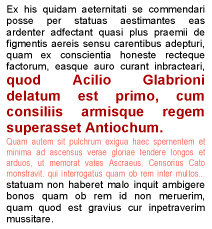
Justified text |
This attribute may be changed:
• Left alignment: select the text to be modified and click on the /Texts/Alignment/Left/ or right click in order to get the contextual menu and choose the /Alignment/Left/ option or use the [Ctrl]+[Shift]+[L] shortcut.
• Centered alignment: select the text to be modified and click on the /Texts/Alignment/Center/ or right click in order to get the contextual menu and choose the /Alignment/Center/ option or use the [Ctrl]+[Shift]+[C] shortcut.
• Right alignment: select the text to be modified and click on the /Texts/Alignment/Right/ or right click in order to get the contextual menu and choose the /Alignment/Right/ option or use the [Ctrl]+[Shift]+[R] shortcut.
• Justified alignment: select the text to be modified and click on the /Texts/Alignment/Justified/ or right click in order to get the contextual menu. A justified text is calculated in order to fit to its bounding rectangle except the lines with a carriage return at the end or the last line.
You also can define a margin between the frame and the content. Select an extended text and click on the /Object/Inspector.../ item from the menu:
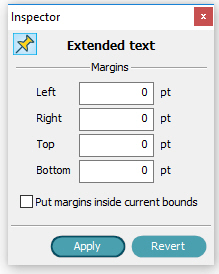
By default you get null margins.
Enter margin values (2mm for example), margin are added to the bounding rectangle i.e. rectangle corners are moved.
If you prefer to reduce the content itself according to the frame, you first have to active the "Put margins inside current bounds".
This option allows to know which bound is taken into account when applying margin.
You also can associate the frame to a curve type. Select an extended text and apply a curve type as you will do for any other curve:
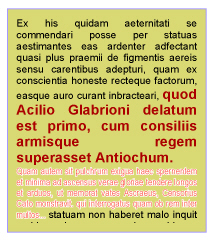
The other types (pattern, screening, hatching, etc.) cannot be associated.
Extended texts are available in automatic mode in GIS transfer and toolbox tasks.