Click on the [Start] button of Windows, Programs, LorikSoftware and then on the name of the program to launch. If you have created a shortcut, you just have to double click on the ![]() icon.
icon.
This program requires a connection to a database previously created:
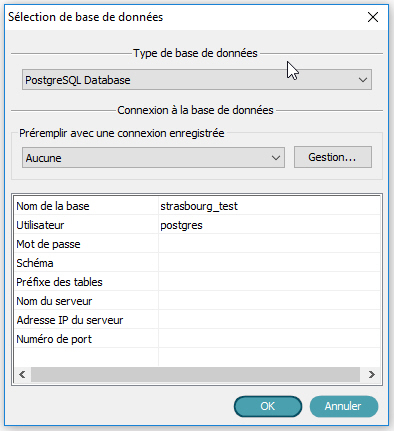
Fill in the appropriate fields an click on the [OK] button. Please report to the connection database chapter for more details.
Once the database is opened a login panel is displayed.
When you log in as the DBManager you have to enter the password defined when creating the database. The password is not mandatory for the "operator" users.
Once logged the following panel is displayed:
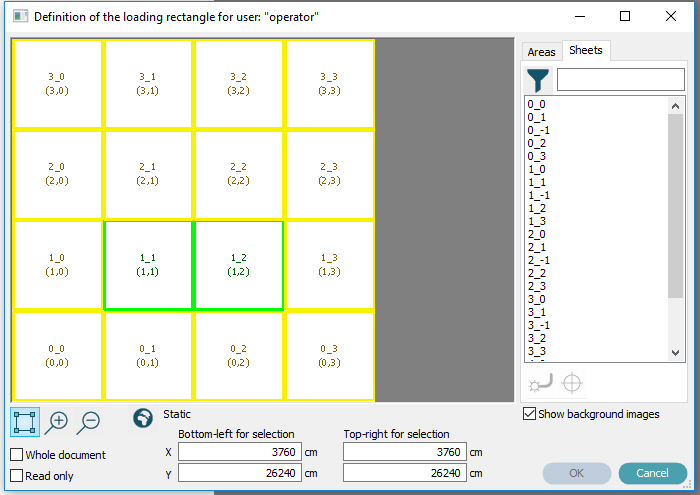
This panel displays the list of the available sheets in the database.
There are two options to open a sheet:
You can choose in the list in the right-hand part of the panel
You can also used the filtering box placed on the top of the list to quickly find the sheet to be opened.
You can directly select the sheet in the main windows using the . You can use the
  or
or  to zoom out or in the window. Sheet in the "Edited" state are displayed in yellow, "Transferred" in blue, "To be verified" in orange and "Validated" in green. When you select a sheet a red square is drawn inside.
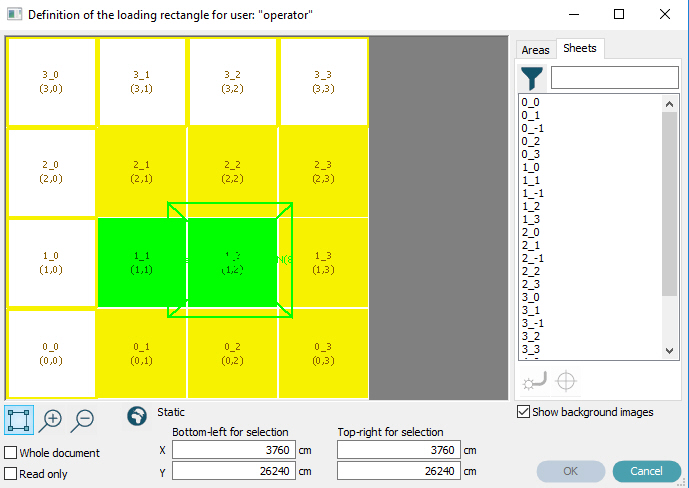
If a sheet is already opened, its name is not displayed in the sheets list and is displayed with a plain square in the main window:
A sheet has its own life cycle based on 2 modes:
Creation mode: it corresponds to the first creation of the content of the sheet.
Update mode: it correspond to the updating process of an existing sheet.
Once the sheet selected, click on the [OK] button. The program starts and the displayed content varies according to the mode of the sheet, "Creation" or "Update".