![]()
![]()
The comparison between entities is done after the GISLink transfer and after the preliminary ToolBox tasks.
Example: a curve supports a text which is written "West Boulevard" in the map. If during the second transfer the text is shortened and is now written "West Blvd" this text won't be displayed as modified. On the contrary if the content of the original text is modified (South West Boulevard for instance) the text will be displayed as modified.
Only modifications in the original data which have an influence on the transfer are used. So modifications of unused attributes in the original data are ignored.
Example: if the original data contain an attribute named "Road_Speed" and if this attribute is not used for defining transfer rules in LorikDBManager, all modifications brought to this attribute in the original data are ignored.
The comparison is done on the resulting geometry once data have been converted into LorikSoftware format. At this time the unique ID is not used.
Example: if the position of a "POINT" entity has been modified in the original data, once converted this entity will be displayed as deleted for the previous transferred one and new for the newly transferred one.
All modifications done for graphical reason in the left-hand window are not taken into account for the comparison.
Example: if you modified the position of a curve to avoid an overlapping between entities and if the original data used for creating this curve has not been modified, this curve won't be displayed as modified.
This toolbar permits to handle transferred data in right-hand window.
This function permits to decrease right-hand window data saturation for a better highlight of modifications:
|
|
|
|
Various tools are available and allow the user to identify the new, the modified or the deleted entities:
|
Show new entities |
|
Show modified entities |
|
Show equivalent entities |
|
Highlight new entities |
|
Highlight modified entities |
|
Highlight deleted entities |
Correspond to entities that do not exist in the current version of the map. These entities are created when:
the user add a new file to the transfer
the user modify rules (GISLink rules and / or Toolbox tasks). Examples:
a modification of the filtering parameters (conditions) in a GISLink creating new entities.
or a modification of the removal area value in the Surface removal task allowing new entities to be displayed.
Corresponds to entities that already exist but are modified after this new transfer. Entities are considered as modified when:
the user (within a GISLink rule and / or a Toolbox task) affects a new type and/or layer to an existing entity.
the user modifies the attributes of an existing entity:
adds a new attribute
modifies the value of an existing attribute
deletes an attribute
the user modifies the visibility of an entity
the user modifies the position of an entity
the user modifies the shape of an entity (i.e. re-scale of a symbol)
Corresponds to entities for which types, geometry, size, associations, etc. did not change
When you replay a transfer for updates, it is sometimes difficult to visualize the differences among the displayed information. Setting its own color preferences, user can distinguish new, modified and deleted entities.
Note: "New", "Modified" and "Deleted" categories must be shown to be highlighted.
Click File/Preferences/Database modification display. The following panel displays:

Click in the color sample. A standard color definition panel displays. It allows the user to modify the color values for each modification category in both CMYK and RGB mode:
If you click the "Ignore extended attributes modifications" objects with new, deleted or modified extended attributes will be no longer highlighted and not considered as modified.
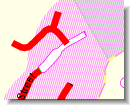
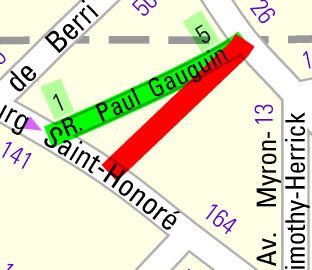
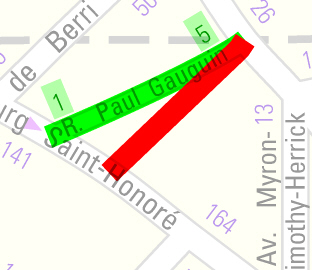
The following captures display highlighting examples concerning curve types:
|
|
|
|
|
Original curve |
New curve types (car park entrance) |
New highlighted curves |
|
|
|
|
|
|
|
|
|
Original curve |
Curve type modification |
Highlighted modification |
|
|
|
|
|
|
|
|
|
Original curve |
Deleted curve type (private road) |
Highlighted deletion |
Note: new, modified and deleted entities are differently highlighted depending on their types.
A set of interactive tools is available to perform the updates:
|
Full selection tool: selects entities to be pasted in the existing page |
|
Transfer GIS selection tool: transfers selected entities from the GIS updates window to the existing page window. |
|
Zoom out tool:zoom out the GIS updates window or zoom in when drag and drop |
|
Zoom in tool: zoom in the GIS updates window |
|
Draw a validation zone: click and drag the mouse to draw a validation area |
|
Erase a validation zone: click and drag the mouse to remove a validation area |
|
Click this button to define the visible area on the screen as validated |
|
Click this button to remove all validation zones visible on the screen |
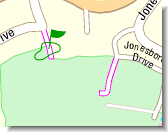
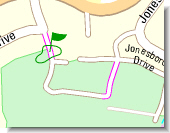
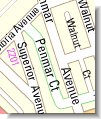
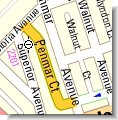
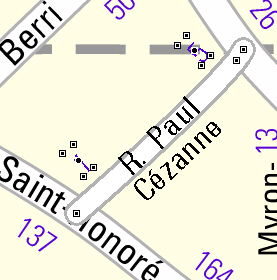
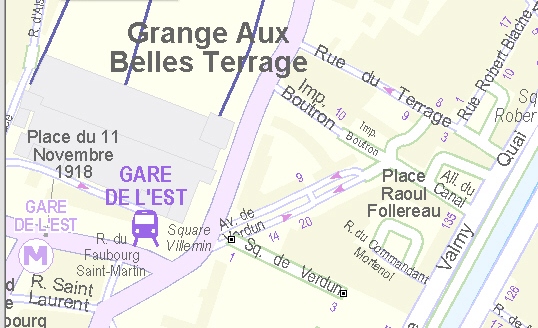
In the previous example, 1 road has been deleted and 1 road has been added. This modification acts on road numbers.
Using dedicated tools, it is easy to update this area.
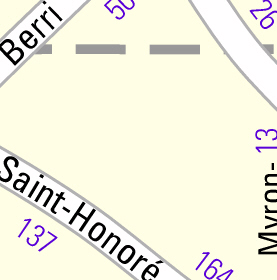
In the current map (in the left-hand window), we delete the removed entities (existing road numbers are not displayed as deleted as they are not considered as graphical objects in original data). This step is done using standard editing tools:
|
|
Selecting entities |
...then deletion |
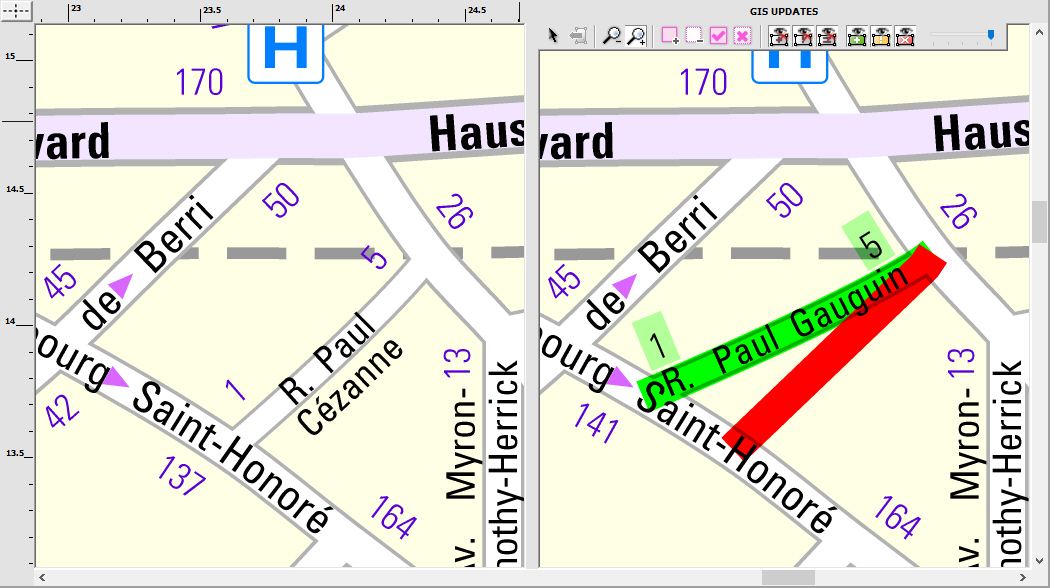
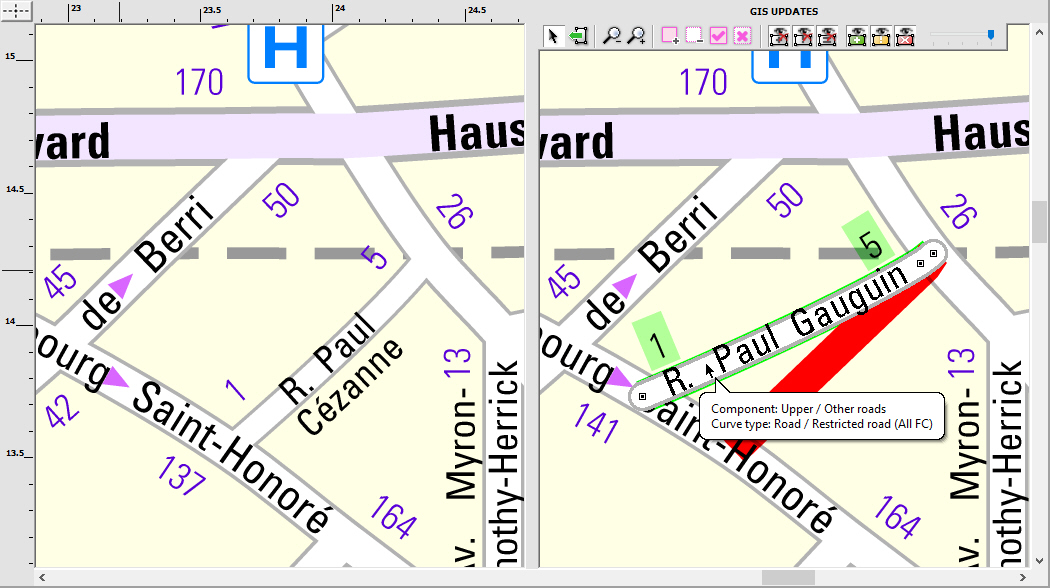
For updating existing map, select  tool and click
the entity for selecting it. A tooltip is displayed and gives information
about selected entity layer and type. When you select modified entities,
additional information are displayed:
tool and click
the entity for selecting it. A tooltip is displayed and gives information
about selected entity layer and type. When you select modified entities,
additional information are displayed:
Then click  button for pasting selected entity in
left-hand window and thus updating existing map:
button for pasting selected entity in
left-hand window and thus updating existing map:
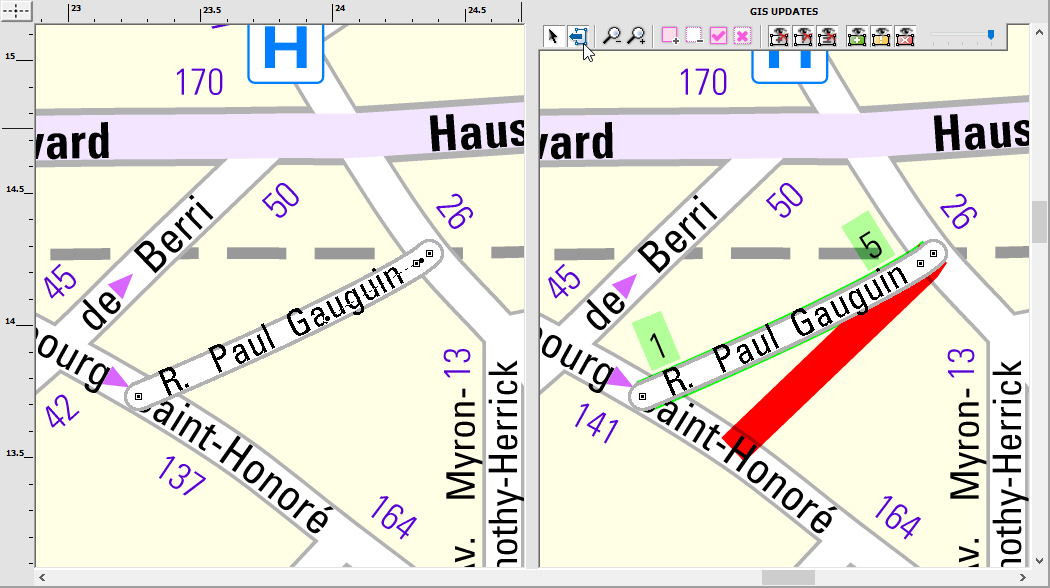
The same steps have to be followed for all other new entities. Added entities can be handled as any other entities.
In File / preference / sheet you can check option to associate automatically entities to current working sheet.
When you select a modified entity, additional information are displayed:

Here is the list of the possible displayed modifications:
Has new text |
The selected entity is supporting a new text. |
Uses new attribute(s) influencing: |
A new attribute has been associated to the selected entity. This attribute was not present in the previous transfer. |
Uses modified attribute(s) influencing: |
The attribute was already associated to the selected entity in the previous transfer but its value has changed. |
Used deleted attribute(s) influencing: |
An attribute associated to the selected entity in the previous transfer is no longer associated the entity. |
Its text uses new attribute(s) influencing: |
A new attribute has been associated to the selected text or to the text of the selected entity. This attribute was not present in the previous transfer. |
Its text uses modified attribute(s) influencing: |
The attribute was already associated to text or to the text of the selected entity in the previous transfer but its value has changed. |
Here the list of the possible results of a modification:
layer/component |
The modification influences the associated layer / component of the selected entity |
shape |
The modification influences the shape of the selected entity |
bridges |
The modification influences the bridges (addition or removal) of the selected entity |
graphical aspect |
The modification influences the graphical aspect (types association) of the selected entity |
text content |
The modification influences the content of the selected text or the text of the selected entity |
house numbers |
The modification influences house numbers information of the selected entity |
traffic direction |
The modification influences the traffic direction information of the selected entity |
In the case of a modified entity, and depending on modification complexity, you have to choose between:
removing current entity and replacing it by modified entity.
modifying current entity.
They is no predefined rule. You just have to guess which one is less time-consuming
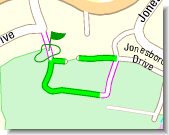
If we focus on road numbers, obviously, it is quicker to remove and replace them all by new ones:
First you have to remove all former road numbers in current map. Select them using current type toolbar and remove them. |
|
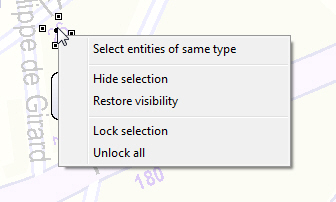
Then, in GIS update window, select one road number, then, using contextual menu, select [Select entities of the same type] option. |
|
Once selected, click |
|
To make easier the selection, the identification of the entities to be pasted, the contextual menu offers functions to hide/restore visibility or lock/unlock entities. Indeed when there are numerous entities in a small area, it is sometimes difficult to accurately select the desired entity.
Note: clicking Shift key as selecting entities permits a multi-selection:
If entities have been modified in current map before update, or if original objet has not been modified in original file or database, these entities won't be considered as modified. We consider that a modification done when finalizing the map is a graphical modification and does not concern data itself.
In Object / sheet association menu, you can select entities according to associated working sheet (or not). This selection is useful when you want to associate or disassociate entities to a sheet
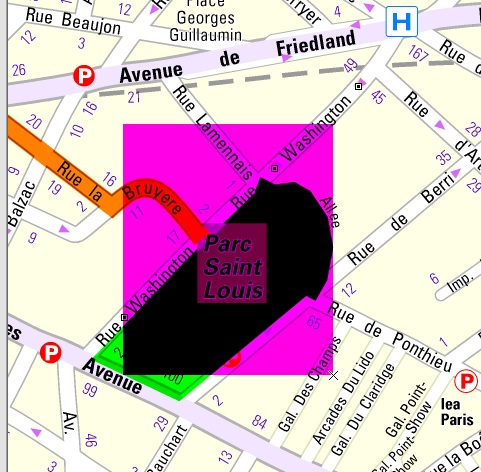
When you consider the visible area has been fully checked (all new or modified entities have been updated in the existing map), you can set this zone as a validated zone.
Click the  button. In the GIS Update window, click
and drag the mouse to draw a validation zone. When you release the mouse
the zone is visible on the screen:
button. In the GIS Update window, click
and drag the mouse to draw a validation zone. When you release the mouse
the zone is visible on the screen:
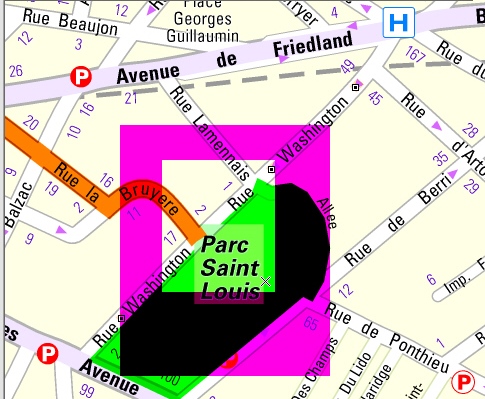
If you click the  button, click and drag the mouse
in the GIS update window, when you release the mouse you invalidate a
validated zone:
button, click and drag the mouse
in the GIS update window, when you release the mouse you invalidate a
validated zone:
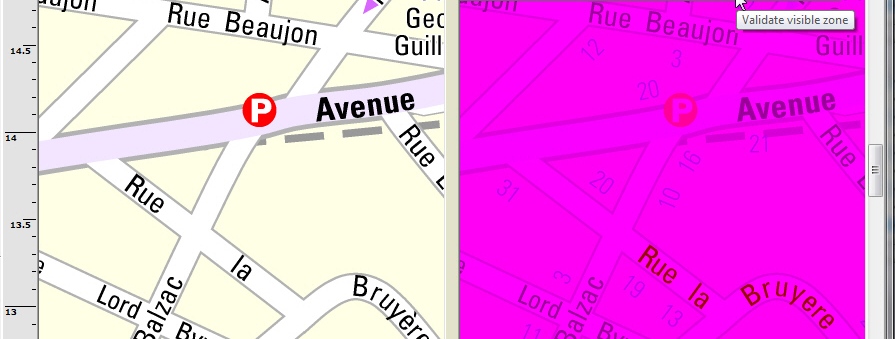
If you click the  button. You validate the entire
screen:
button. You validate the entire
screen:
Clicking  button, you invalidate all the validates
zones displayed on screen. Validation color is removed.
button, you invalidate all the validates
zones displayed on screen. Validation color is removed.
Note:
Validated zone display is activated using Display/Show validated zones menu.
These zones are only displayed for helping cartographer to perform updates. They do not prevent the user from selecting and pasting entities displayed in this window
The color for validation zones can be modified in the Preferences panel.
Every time you make a modification you can save your work using the
 icon, the File/Save menu or the [Ctrl]+s shortcut.
During the first saving the sheet switches from the "Transferred" state to the "Edited" state if a modification had been made.
All modifications are saved into the database.